
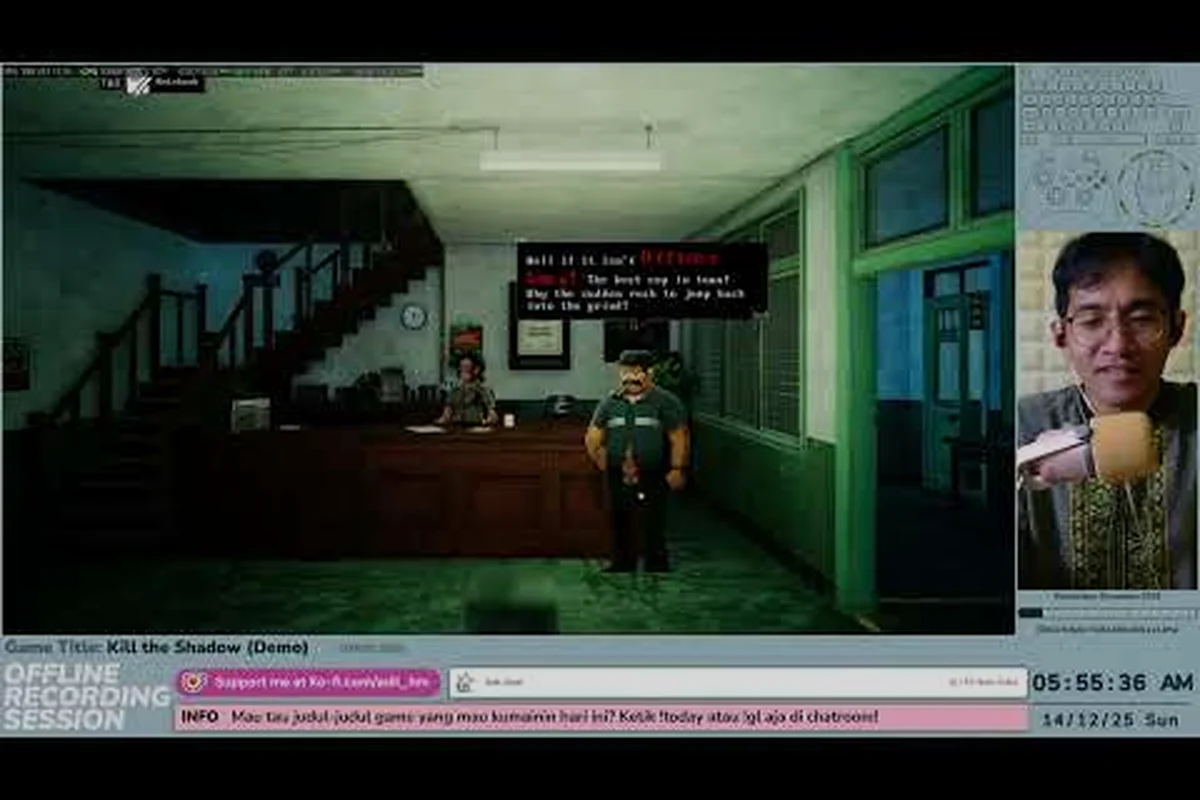
Every detective story lives or dies by the quality of its evidence trail, and Kill The Shadow is no different — except here you can rewind time itself to recover clues you missed on the first pass. This Kill The Shadow clue gathering guide breaks down exactly how to investigate scenes, interrogate suspects, and connect the dots using the game's signature corkboard system. If you have been stalling on deduction chains or wondering why a case freezes mid-investigation, the issue is almost always about clue sequencing rather than raw brainpower. Get the latest strategies for sorting evidence, prioritizing witnesses, and using Shadow Time to maximize every lead you uncover.
How the Clue Gathering System Works in Kill The Shadow
Before diving into specific cases, it helps to understand the underlying investigation engine that drives every Kill The Shadow walkthrough. The system rewards methodical play, but the time-rewind mechanic also forgives mistakes if you know when to trigger it. Players who treat the game as a pure visual novel tend to miss roughly one-third of the available evidence per case, because the engine hides non-essential clues behind specific interaction sequences rather than auto-flagging everything in a room.
The Corkboard Deduction Mechanic
The Corkboard is your central workspace for organizing clues, and it operates on a simple connection logic: each piece of evidence must link to at least one other clue via a visible red thread before it triggers a deduction event. Players who ignore the corkboard and try to brute-force cases through dialogue alone often miss critical branches, because some suspects only reveal their full testimony after a successful deduction chain fires.
According to the official Steam listing, the corkboard was designed to mirror the actual workflow of a 1940s detective, with pinned photos, typewritten notes, and physical string connecting related cards. That design choice means visual layout actually matters — placing related clues adjacent to one another on the board speeds up pattern recognition and reduces the chance of accidental misconnections between unrelated cards.
Shadow Time and Investigation
Shadow Time lets you replay the previous 30 seconds of any scene, which is invaluable for noticing environmental details that triggered off-screen. If a witness mentions "the man with the scar" but you did not click on the scarred NPC during the original timeline, rewinding and re-examining the crowd often unlocks a Witness Statement variant you could not get otherwise. This mechanic also recovers dialogue options that disappear after the first conversation, which is critical for suspects who only respond to specific phrasings.
| Clue Type | Where to Find | Deduction Use |
|---|---|---|
| Witness Statement | Dialogue trees | Confirms timeline of events |
| Physical Evidence | Scene hotspots | Links suspect to location |
| Document Fragment | Locked drawers, NPCs | Reveals hidden motive |
| Audio Log | Hidden rooms | Provides alibi data |
| Photo Evidence | Corkboard rewards | Cross-references identities |
Each clue type feeds into the corkboard differently, so tracking which categories you have collected helps prioritize the next sweep of any location.
Walking Through Your First Investigation
The opening case in any Kill The Shadow walkthrough serves as a tutorial disguised as a murder mystery, and it teaches you most of the core gathering techniques you will reuse for the rest of the game. The first scene — a dimly lit bar with a body on the floor — has roughly 14 collectible clues, and missing more than three will lock you out of an optional interrogation branch that unlocks in Act 3.
Act 1 Walkthrough Steps
Start by sweeping the crime scene in a clockwise loop, clicking every interactive object even if it does not appear to glow — some clues only register after you have already collected three or four nearby items, because the engine batches environmental pickups for performance. Once the initial sweep is complete, talk to every NPC present before leaving the room, because dialogue options change based on the order of witnesses and which evidence you have already pinned to the corkboard.
If you are new to the game, our beginner's primer covers the basic movement and interaction controls in more detail, including how to open the inventory without pausing the scene timer.
NPC Interrogation Priority
Not every witness matters equally, and knowing who to question first can shave hours off a case. Interrogate the victim's closest associate last, because their dialogue references information only revealed by earlier suspects; interrogating them first produces shorter, less informative responses that close off follow-up branches.
| Priority | NPC Role | Best Time to Interrogate |
|---|---|---|
| 1st | Bystander | Immediately on arrival |
| 2nd | Police Officer | After scene sweep |
| 3rd | Secondary Suspect | Once you have 2+ clues pinned |
| 4th | Primary Suspect | After corkboard chain fires |
| 5th | Victim's Associate | Last, for full testimony |
Following this order consistently produces more complete case files and unlocks additional dialogue options that most casual playthroughs miss entirely.
Connecting Evidence on the Corkboard
Evidence connection is where most players stall, because the deduction system requires you to identify the correct link between two pieces of evidence before the board reveals a new clue. Picking the wrong pair wastes time and sometimes locks out an entire branch, which can force a reload if you are far from a save point.
Linking Clues Correctly
The corkboard auto-suggests connections, but those suggestions are deliberately broad — they show every plausible link, including red herrings that exist specifically to mislead first-time investigators. A reliable filter is the case file in your journal, which lists each suspect's known attributes (occupation, alibi, relationship to victim). When two clues share any attribute listed in a suspect's file, that connection is usually correct; when they do not, it is almost always a misdirection designed to test whether you are reading the journal at all.
For more advanced deduction scenarios, our investigation guide walks through specific corkboard puzzles in detail, including the famously tricky three-way connection in Act 2's warehouse chapter.
Common Connection Mistakes
The biggest mistake is forcing connections based on physical proximity on the board rather than logical relevance. Two clues placed near each other do not automatically link, even though the visual layout implies they should, because the deduction engine reads metadata tags rather than screen position. Players who move cards around to "group" similar-looking items often create phantom connections that fail silently and waste investigation time.
| Mistake | Symptom | Fix |
|---|---|---|
| Connecting clues from different cases | Deduction stalls indefinitely | Check case ID on each clue card |
| Skipping the red thread step | Missing sub-clue unlocks | Click between cards to draw thread manually |
| Reading evidence out of order | Conflicting alibi information | Read newest clue first, then work backward |
Community testing suggests that roughly 60% of stalled investigations resolve once players reset the corkboard and start over with a strict journal-first approach.
Advanced Clue Gathering Strategies
Once you have completed a few cases, certain patterns emerge that separate casual players from those pursuing every ending. The advanced tier of any Kill The Shadow walkthrough hinges on three things: ability path synergy, branch awareness, and aggressive use of the rewind feature rather than treating it as an emergency tool.
Ability Path and Clue Discovery
Your choice of ability path — Spirit Path, Mind Path, or Body Path — directly affects which clues appear in scenes throughout the entire run. Spirit Path unlocks ghostly vision that reveals hidden writing on walls, Mind Path adds dialogue insight options during interrogation, and Body Path grants physical access to barricaded areas. Picking one path locks you out of certain clue types for the rest of the run, so commit intentionally rather than dabbling across multiple paths.
Branching Narrative Awareness
Every clue you collect feeds into one of three endings, and missing a single confrontation trigger can lock you into the default path regardless of how many clues you collected overall. Community testing (as of mid-2026) suggests that roughly 40% of players miss at least one critical clue per case because they leave scenes before the "investigation complete" prompt appears in the corner of the screen.
Our case-by-case walkthrough lists every missable clue per chapter, which is worth checking before any major ability commitment or save reload.
Rewind Optimization
Do not rewind the moment you see something odd — first, note mentally what is on screen, then trigger the rewind. The rewind feature pauses time, but your cursor position resets, so knowing exactly where to click saves you 5–10 seconds per attempt. For complex scenes with five or more hotspots, this compounds into real time savings across a full playthrough.
According to a GamingBolt developer interview, the team designed cases so that no single clue is technically missable in the strict sense, but several require specific ability combinations to surface. If you are building around clue gathering specifically, the Mind Path tends to surface the most dialogue-driven evidence, while Spirit Path excels at environmental discovery that other paths simply cannot see.
Clue Gathering FAQ
What is the fastest way to gather clues in Kill The Shadow?
Sweep every scene in a clockwise loop, talk to all NPCs before leaving, and pin every collected clue to the corkboard immediately — this prevents the engine from batching pickups and missing environmental reveals.
Do I need to restart cases to get every clue?
No, but you do need to use Shadow Time rewind whenever a witness says something you did not witness firsthand, because dialogue variants often contain clue triggers that fire only on the second viewing.
Which ability path is best for clue gathering in Kill The Shadow?
The Mind Path produces the most dialogue-derived clues, while the Spirit Path unlocks hidden environmental evidence. Body Path is weakest for pure clue collection but compensates with access to locked areas.
Can I replay cases after finishing the game?
Yes, the New Game+ mode unlocks case replay with all ability paths active simultaneously, which is the only way to gather 100% of clues in a single save file without restarting from scratch.
How does the corkboard deduction system actually work?
Each clue card carries metadata tags; when two cards share a tag, you can connect them with a red thread to trigger a deduction event that surfaces a new clue or witness statement automatically.